
God of War III: How Enemy Combinations shape Player Choices
Introduction
In the previous post, I talked about some overall aspects that encourage players to adopt a proactive and aggressive playstyle.
In this post, I will attempt to analyze how the different enemy combinations in combat encounters guide the player towards making meaningful decisions in their choice of abilities and tactics.
Tackling Kratos' Defensives
Kratos’ defensive abilities have their own characteristics and may be the perfect solution for specific enemy attacks. But what to use can vary depending on the state of the battle. Let’s start by checking some of the key traits on both Block and Dodge.
Block
- In almost all cases, players can animation cancel attacks into the block ability. This promotes input responsiveness.
- The direction of attacks is not considered when blocking – players can block strikes coming from any direction, regardless of Kratos’ orientation.
- There is no poise system whatsoever – attack damage is fully mitigated with no trade-off.
Dodge
- Similarly to block, input responsiveness applies as players can animation cancel attacks into dodge.
- The player character rolls towards a given direction.
- The character gets invincibility frames for a brief period of the roll animation.
Let’s now look at some enemy encounters that have players reconsider these defensive abilities.
Minotaur Brutes and Harpies
We can start with a simple example. Minotaur Brutes are bulky-looking monsters that charge and strike the player knocking them up in the air. Losing control of the character can be specially annoying. However, it can all be nullified by using Block.
So, what happens when we get Harpies into the mix?
Harpies have a downward plunge attack that explodes on impact and bypasses player block but can be dodged. This design forces players to adapt:
- Players can block Minotaur attacks but can’t block the Harpie plunge.
- Players can dodge the Harpie plunge but it does not grant complete immunity to Minotaur attacks.
- They must decide when to hold their ground and when to reposition.
This has players weighting their options, deciding when to hold their ground and block and when to dodge. All these decisions, rely on the combat state, the player position, enemy position and enemy intentions, on each given moment.
Olympus Legionnaires and Cyclops Enforcers
A similar situation happens at the Gates of Olympus, when fighting a combo of Olympus Legionnaires with Cyclops Enforcers.
Olympus Legionnaires
- All their attacks can be blocked.
- They surround and attack the player in group. The attacks come repeatedly if the player doesn’t act aggressively.
Cyclops Enforcers
- Their attacks are slow, cover a large area, have a long duration and cannot be blocked.
- Player can dodge, but dodging in the wrong direction can cause the player to still be hit.
Once again players have to consider their options:
- Players cannot blindly block attacks from Legionnaires since there is always the threat posed by the Enforcers.
- Dodging Enforcers’ attacks requires considering the direction, since the long-lasting spike-ball attack punishes players who dodge along the trajectory of the strike.
On paper, Kratos defensives seem quite powerful with great input responsiveness and able to animation-cancel most player states. However, enemy interactions with these defensives, combined with the way encounters are structured, show that it is not always as straightforward as it might seem. This leads players to consider the combat situation and make more meaningful choices.
Disruptive Enemies
Now, let’s take a look at specific enemies and how their presence can add depth to a combat encounter.
Feral Hounds
A few key traits on Feral Hounds:
- Low durability – Low health allows them to be killed in just a few hits.
- Easily interrupted – They can be completely locked in hit reaction states by any of player’s attacks.
- Highly vulnerable – They are susceptible to any of the player’s special abilities like grapples and combat grapples.
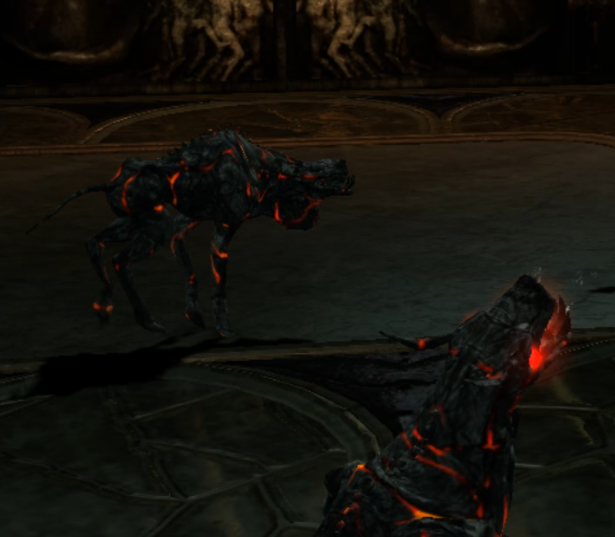
These defining aspects might lead players to underestimate the Feral Hounds when dealing with other enemies, since, at first glance, these weak creatures seem easy to deal with.
However, the real danger is how they act when ignored. If the player deprioritizes them, acts defensively or just waits for enemies to act, the Feral Hounds leap and pin the player down.
- This leads to a short quick-time-event, where the player has to shake them off – while the event plays out, player health is slowly chipped away.
- It also creates opportunities for other enemies to act.
- As noted above, blocking is effective against Olympus Soldiers, Minotaurs Brutes amongst many other enemies.
- This Feral Hound behaviour bypasses blocking entirely, leaving the player exposed to follow-up attacks from surrounding enemies.
Feral Hounds punish player inaction and defensive playstyles. This characteristic plays a fundamental role in certain enemy encounters, enabling other enemies to be more dangerous. As they try to swarm Kratos, they force players to reevaluate their strategy during combat – both in terms of playstyle (defensive vs aggressive) and enemy prioritization.
Gorgon's Gaze
One of the most interesting abilities that found in God of War I-III games is the Gorgon’s Gaze.
- The Gorgon casts a green beam that can turn the player to stone.
- If the player doesn’t break out of the stone, a follow up attack kills them instantly.
In terms of moment-to-moment decisions the player can either:
- Dodge – completely negating the stun if they move out of the path.
- Parry – Blocking with precise timing and following the on-screen prompt allows the player to parry the attack, stunning all nearby enemies.
In addition, executing the Gorgon also turns surrounding enemies to stone.
The presence of a Gorgon in an encounter leads players to reflect on the state of the encounter and consider their next move. We can take a look at the slides below to see why.
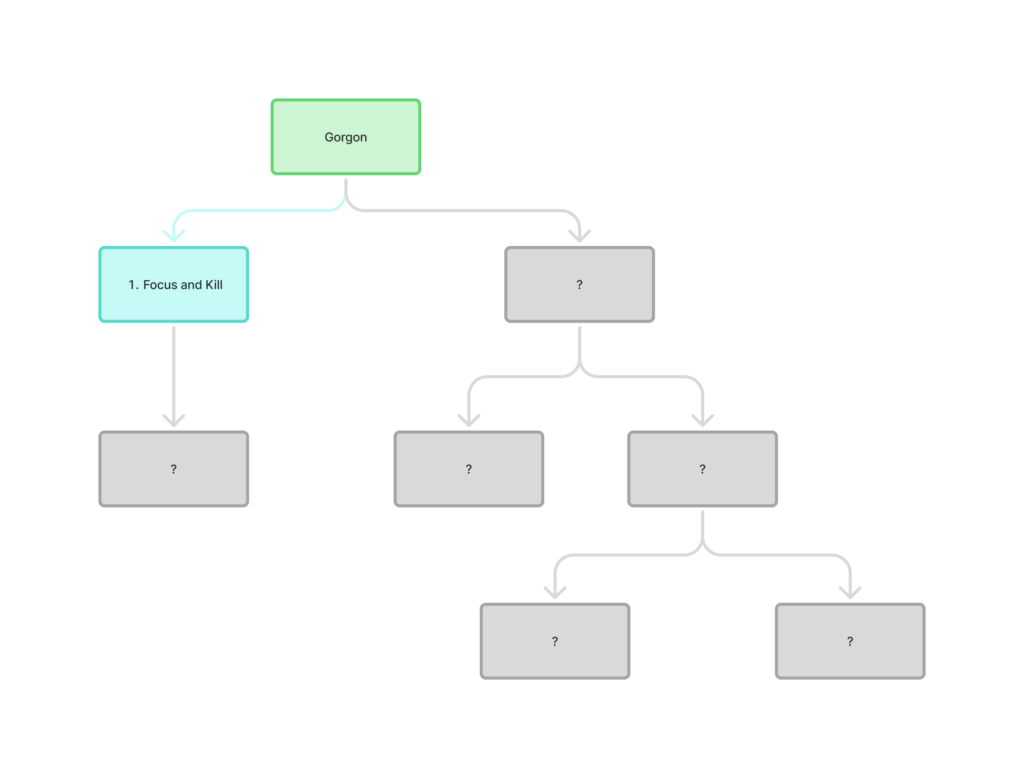
1. With the constant threat of being turned to stone, players might just focus the Gorgon first. This removes the ability from the equation and potentially makes the encounter less dangerous.
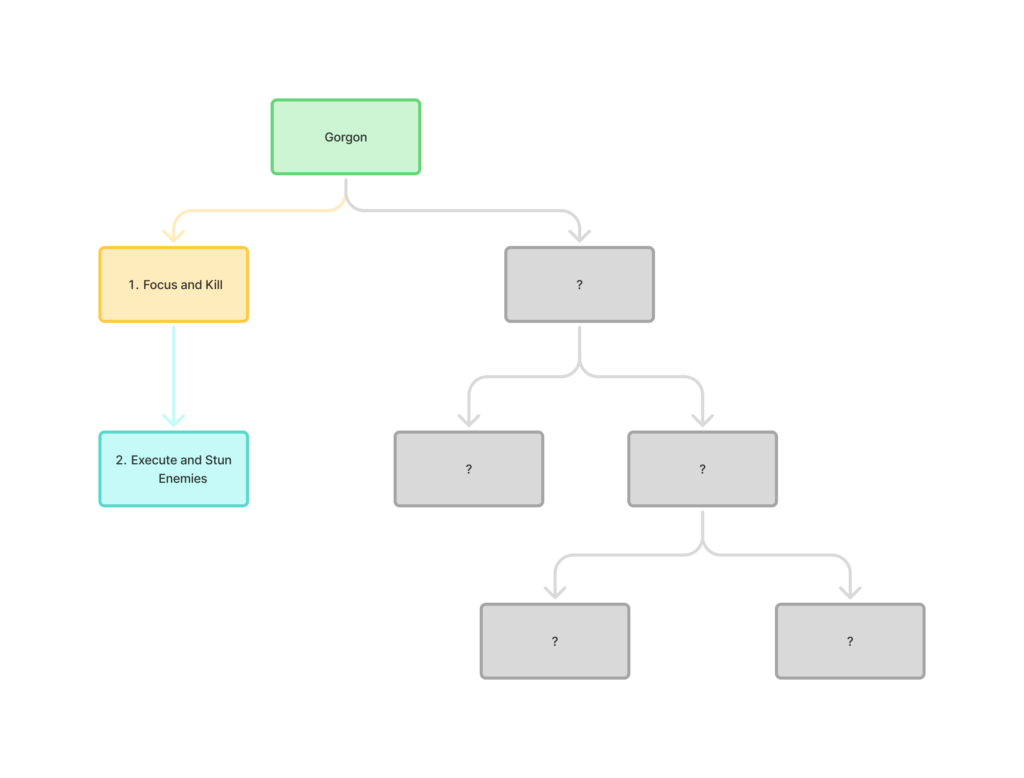
2. Afterall, executing the Gorgon stuns nearby enemies, some of which can be instantly killed afterwards, so this is a perfectly valid approach.
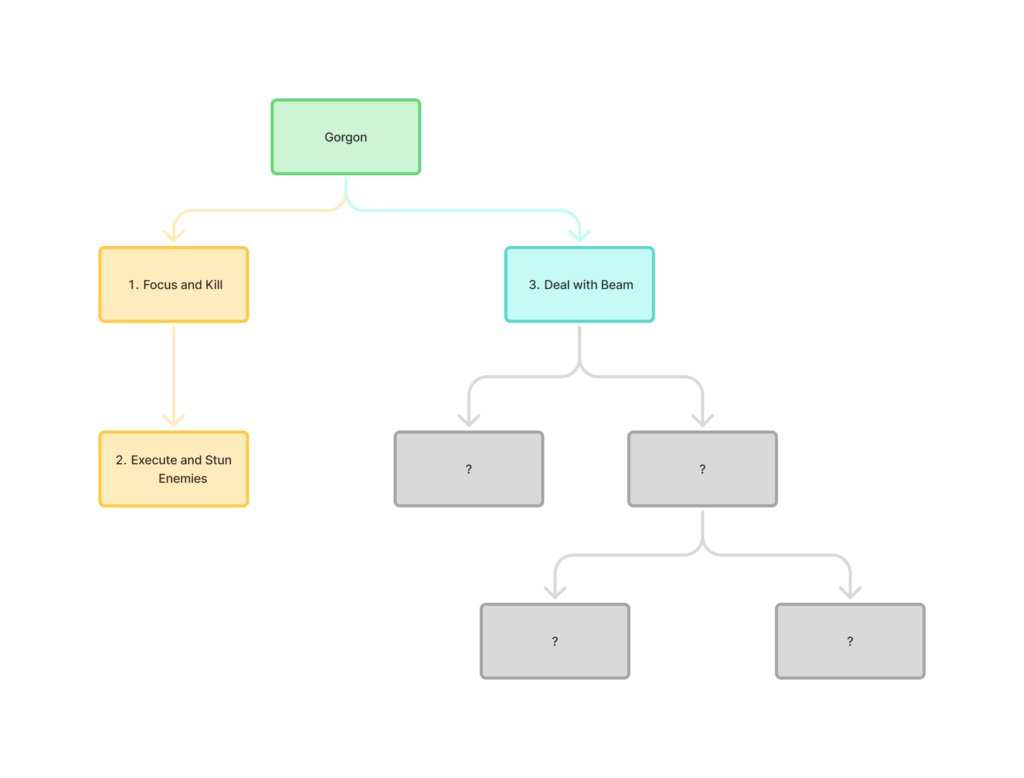
3. Another possible path is to keep the Gorgon around and deal with the abiltity.
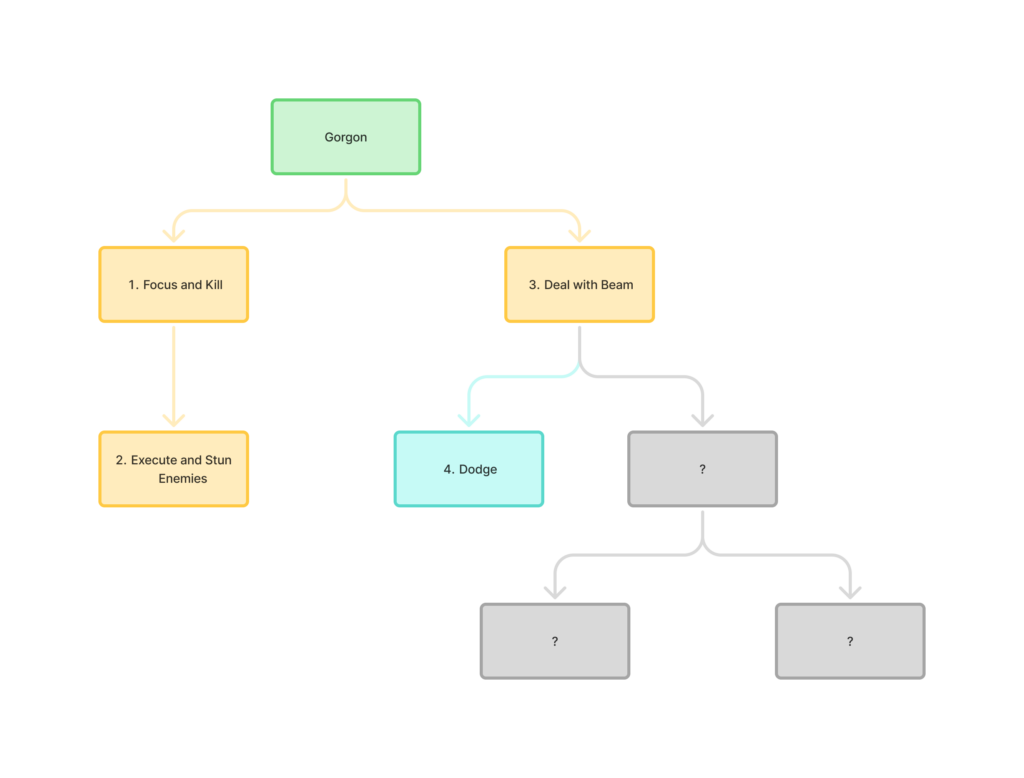
4. The player can dodge the Beam. This negates the stun effect and can be a safer option.
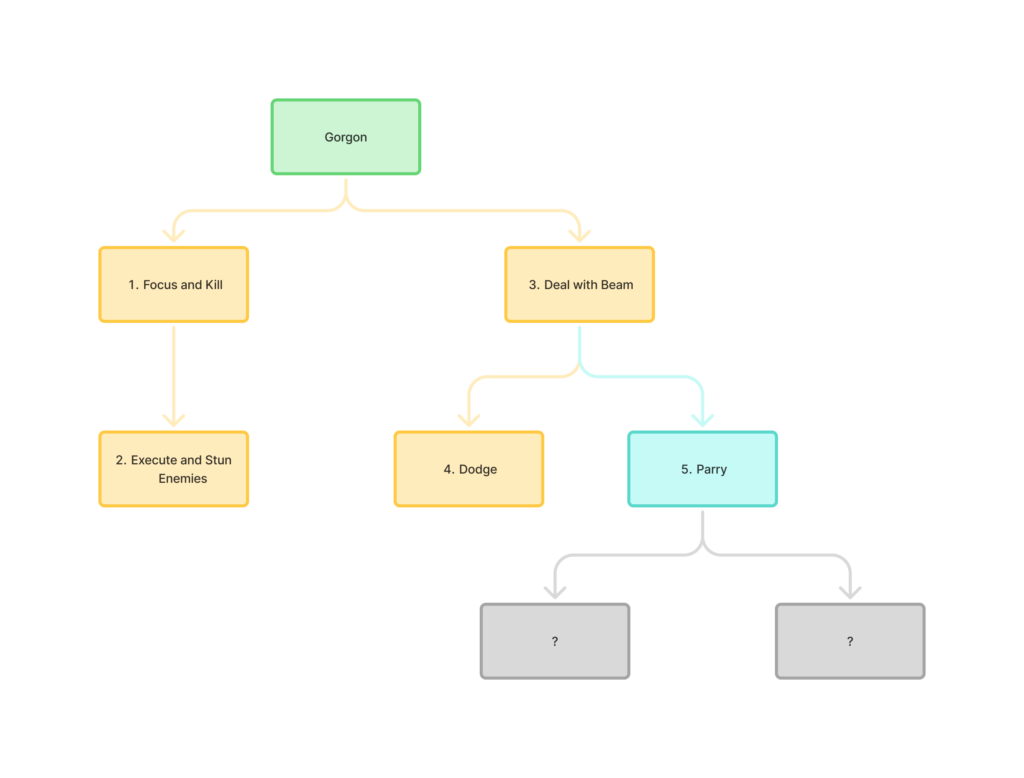
5. Players can also decide to parry. Since parry stuns all enemies around, the player can use the Gorgon as some sort of involuntary tool to keep control of the fight. This can be useful when the remaining enemies are more challenging.
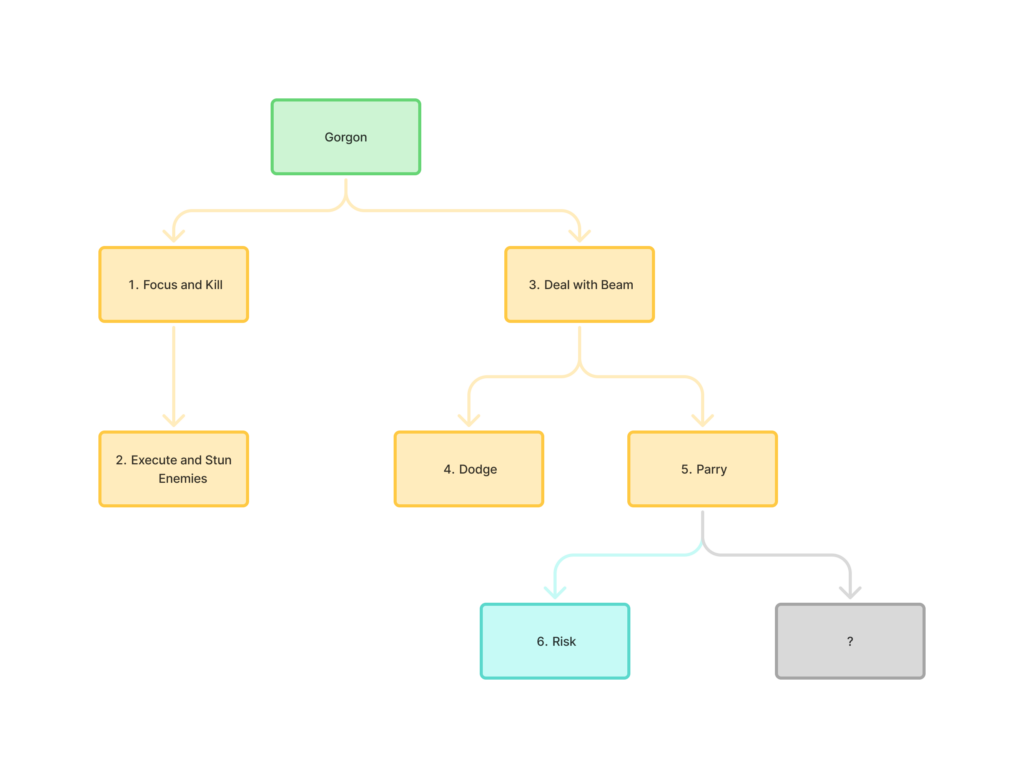
6. Failing the parry (or generally keeping the Gorgon alive) always incurs a risk: if the parry fails (because the player fails the block timing, or does the wrong input afterwards), the player gets stunned. The risk increases the longer the enemy stays alive.
The risk is even higher since other enemies can also destroy the stunned player.
- After stunning the player, the Gorgon does a little startup animation before striking – this gives time for the player to try to break free.
- However, if other enemies are already on an attack state when the player is stunned, they will simply destroy the player, disregarding any time window for the player to break free.
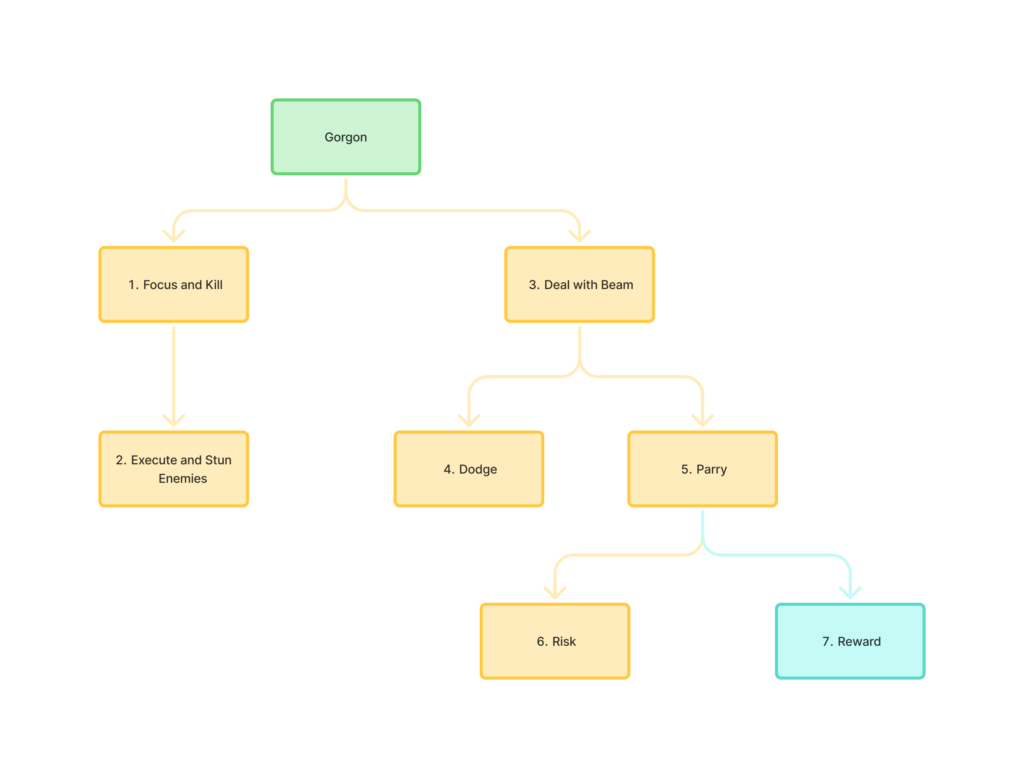
7. But alas, with high risk comes high reward. If the player successfully parries the Beam (which isn’t particularly difficult, given the generous timing window), all enemies are stunned, allowing the player to freely dish out some damage.
Ultimately, the Gorgon is kept around and its beam can be transformed into an aggressive tool by the player. By the time Kratos executes the Gorgon, the player can still reap the benefits of a final extra stun.
Here’s a video of Kratos being destroyed by different enemies after being stunned by the Gorgon
Chimeras
Chimeras are another interesting case, since the game doesn’t really combine them with other enemies. And they really only appear twice:
- The player faces a single Chimera in Olympia.
- At the Gates of Tisiphone, two Chimeras block the way to Tartarus.
The reason why I chose to talk about Chimeras is that in their design they really are multiple enemies mixed into a single one – they are fought in three phases, each with different abilities and reactive behaviours.
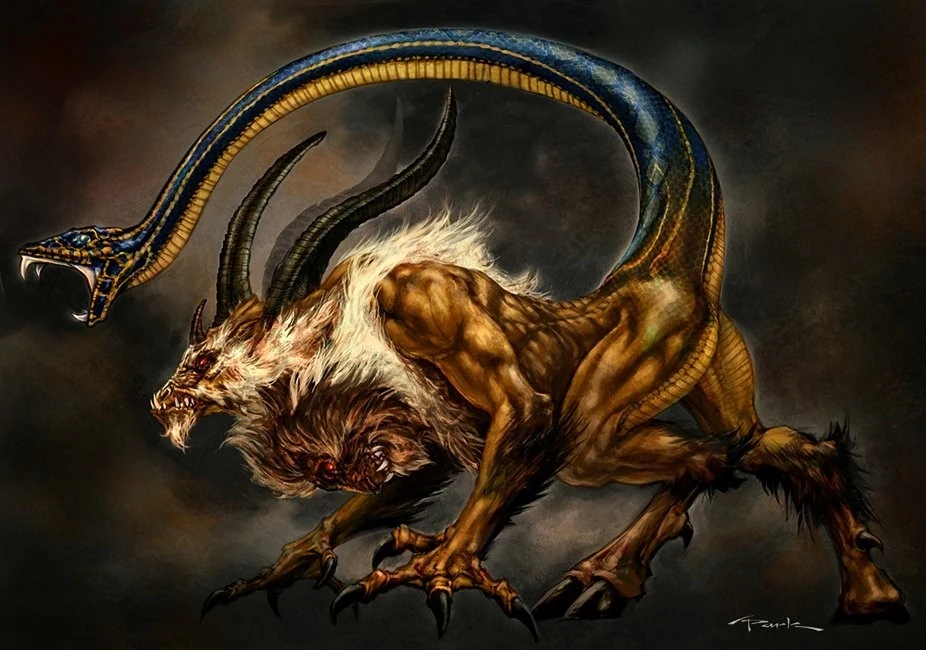
Snake Phase
- Damage Reaction
- Player attacks cause hit reactions states.
- It can block player attacks.
- When attacking, the Chimera gets Super Armor.
- Venom Spit
- Unblockable.
- Damage and stuns the player.
- Tail Swipe
- Blockable.
- Damages player.
- Charge and Bite
- Blockable.
- Damage and knocks up player.
Lion Phase
- Damage Reaction
- Immune to normal attacks but interrupted by combo finisher moves.
- This is a similar behaviour to most large enemies in the game.
- Fire Blast
- Unblockable.
- Damages player.
- Melee Attack
- Blockable.
- Damages player.
Goat Phase
- Damage Reaction
- Player attacks cause hit reaction states.
- Sometimes dodges (jumps away) player attacks.
- Fire Wave
- Unblockable.
- Damage and knocks back player.
- Ram
- Blockable.
- Damages player.
All these characteristics help show how complex these creatures are. Even though it is a single enemy, the different phases mean a constantly readapting enemy, with the player having to readapt accordingly.
Players are basically fighting three enemies in one.
Now, I said that Chimeras never combine with other enemies. While that is true, at the Gates of Tisiphone, the player fights two Chimeras at the same time.
Firstly, the game only spawns the second Chimera, after the first Chimera goes into Lion Phase.
- This means that the player will always fight a Chimera in Lion Phase (2nd) and one in Snake Phase (1st) at the same time.
Even though Chimeras never combine with other enemies, fighting two at the same time still creates an encounter with enemies that essentially work differently. As the fight progresses and the player pushes the Chimeras through their different phases, the encounter becomes increasingly dynamic, filled with shifting abilities and strategies.
The player can also decide between:
- Killing one over the other to simplify the encounter.
- Or just attacking them both indiscriminately.
Endgame Encounters
Towards the end of the game, enemy encounters grow in complexity and challenge, pushing players’ skills to the limits, while also creating space for player expression based Kratos’ toolset and the diversity on enemy design.
In this section, I’ll attempt to analyze some late-game encounters, their role in challenging the player and enemy synergy with each other and with the level.
Case #01 - Olympus Guardian, Minotaur Brute, Gorgon
The first of these encounters takes place in the Labyrinth of Daedulus, while the player is riding one of the massive moving platforms. The enemies in this encounter have very distinct characteristics that complement each other, creating the recipe for an interesting and challenging fight.
Let’s break down some enemy behaviours, the ways player can respond, and how this response can influence (or fail to influence) the remaining enemies. As pointed out in the title of this section the enemies are:
🛡️Olympus Guardian
🐂Minotaur Brute
🐍Gorgon
🛡️Olympus Guardian
- Their shields block most of Kratos’ weapon attacks.
- Players need to use the Nemean Cestus Gauntlets to destroy the shields and then they can effectively start damaging the Olympus Guardians.
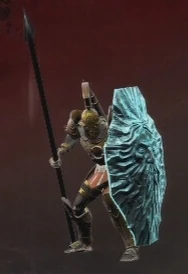
- In contrast to the Blades of Chaos and Claws of Hades (classic chain attacks from Kratos), using the Gauntlets makes it harder to round up enemies and damage large groups – both in width and length, the attack range is shorter.
- So, if the player focus too much on Guardians while breaking their shields, it lets Minotaurs run free (as they are not rounded up) and they can hit the player with their charging attacks which deal a lot of damage and knock up the player (loss of control is especially frustrating.
- There is also the case of Gorgons. They tend to stay away, trying to stun the player with their gaze. Chasing such elusive enemies with the gauntlets can be quite a chore, compared to the wider-reaching weapons.
🐂Minotaur Brute
- The player can keep them in hit reaction state by damaging them.
- Though, their attacks grant them super armor.
- The player can block all their attacks.
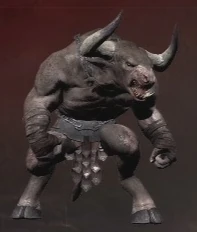
- A fast weapon with wide-range melee attacks is the perfect choice to keep these beasts in hit reaction state, however it won’t work against the surrounding Olympus Guardians with their shields. There is always a chance for Olympus Guardians to quickly riposte while the player is busy with the Minotaurs.
- In addition, blocking the Minotaur’s dangerous and relentless charges can prove useful to counter their attacks along with Olympus Guardians attacks – yet, there is always the looming threat of the Gorgon’s Gaze that will just ignore the player block. If the player is stunned while the Minotaur is attacking, well, it is a quick game over.
🐍Gorgon
- The Gorgon stays at a distance, using its beam to stun the player.
- Hitting it quickly and keeping it staggered prevents Gorgon’s Gaze from activating.
- Parrying the beam or executing the Gorgon as fast as possible stuns all enemies, allowing the player to dispatch them effectively.
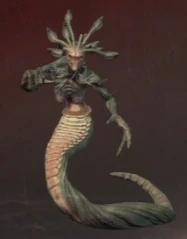
- Since Gorgons jump away a lot, targeting them forces players to focus on movement at the expense of defense and attack, meaning it can make them vulnerable to the Minotaurs and Guardians constant strikes.
- The player might fail to parry the beam and get stunned. Surrounded by the aggressive Minotaurs and Guardians can lead to a swift death for a stone-frozen player.
- The player might consider using a wide-reaching weapon to counter the distance but, once again, has to keep in mind that it won’t have any effect on surrounding Guardians.
- Even successfully stunning enemies has its trade-offs – the Minotaur Brute drops health orbs if it is executed. If it is destroyed while stunned it won’t drop anything.
- And as we have seen in the section before, the player can chose to ignore the Gorgon as a high risk, high reward strategy – using its parried beam to stun the other enemies while always exposing themselves to a potential error and quick death.
Considering all possible player decisions that derive from these enemy designs and corresponding strengths and weaknesses, what should the player do? What should the player kill first?
There is no obvious clear solution nor best course of action. It is up to the player to decide what their priorities are, considering the current game state, personal preferences or difficulties perceived.
- Be it getting rid of the Olympus Guardians shields first, so they can round up and kill everyone with the Blades of Chaos.
- Or killing the Gorgon as fast as possible, so that they can clear out the remaining enemies frozen in stone.
- Or perhaps their current health requires them to focus the Minotaur, so they can get the much needed health orbs on its execution.
Case #02 - Player Abilities and Resilience
Another interesting encounter occurs once again inside the Labyrinth of Daedulus. Although it features four different types of enemies, I found that the main challenge lies less with how the different enemies synergize and complement each other, and more in testing the player’s mastery over Kratos’ toolset and overall resilience.
The fight begins with three Siren Seductresses – they can become incorporeal requiring the player to use the Head of Helios to make them vulnerable again.
As they begin to die, the encounter spawns some Olympus Guardians, which require the Nemean Cestus gauntlets to break their shields, leading the player to mix in both the Gauntlets and the Head of Helios.
By the time the player has killed/or broken the shields of most Olympus Guardians, some Wraiths also spawn. Since Wraiths can go incorporeal beneath the ground, now the player also have to use Combat Grapples to drag them out.
If there are still Olympus Guardians and Siren Seductresses around, now the player has to balance all three required abilities/weapons.
The encounter then takes a break, by bringing two Minotaur Enforcers. They do not overlap with the rest of the enemies but serve as batteries for the player to restore their health – executing a Minotaur drops health orbs.
Once they are dead the game brings back more enemies for a second round of enemies.
However, this time it doesn’t pace them separately and is quick to bring them all together – Olympus Guardians, Siren Seductresses and Wraiths of Olympus.
The previous encounter in this section was quicker but the enemy combinations combos could be deadlier and kept the player on the edge of their seats.
On the other hand, this encounter is longer and it is about the player dealing with wave after wave in a test of endurance. In this case, defensively speaking, it was possible to use the Block to counter all enemy attacks.
The true challenge lied in smoothly flowing between Kratos’ tools to deal with the challenge presented. The player is even forced to, because:
- Sirens cannot be attacked unless rendered corporeal by the Head of Helios.
- Olympus Guardians do not take damage unless their shields are broken by the Nemean Cestus gauntlets.
- Wraiths need to be “Combat Grappled” out of the ground in order to be damaged.
It is all about being offensively diverse, while dealing with large numbers of enemies during a long period of time(roughly five to seven minutes!).
Case #03 - Rotating Arena
Most of the encounters in the game take place in flat, clear arenas with the player having to focus only on Kratos and the Olympian monsters. However, in rare instances, designers decided to experiment and mix some external elements into combat scenarios.
Let’s take a look at one such case in the Labyrinth of Daedulus, where the player is locked in a rotating arena. The main feature of this arena is spikes that pop up from the ground and can instantly kill both the player and the enemies.
Taking into account the constant threat of impaling spikes, the enemies selected for this encounter also synergize with the hazardous environment. Examples below:
Minotaur Enforcers are quite tough, and their knockback attacks can either push players into spikes or leave them helpless to escape in time afterwards.
The Siren Seductress can cast an area stun attack, if not interrupted by player attacks. It leaves the player completely defenseless unless they shake it off in time.
In the video, the game seems to bug and the player does not take any damage from the spikes, despite visibly overlapping them. Yet, my point stands.
Finally, there are also Olympus Legionnaires. While their attacks might have less direct synergy with the spikes, their large numbers can add significant cognitive load to the player’s decision-making.
Players can block all enemy attacks (except the Siren’s Stun). However, blocking means staying stationary, which is far from ideal in this scenario. Dodging is an alternative, but the space can be limited due to incoming spikes, with the extra risk of actually rolling directly into this deadly hazard.
Additionally, if the player focus on defensives too much, the Siren’s stun can also remove control which leaves them vulnerable against spikes or to be freely attacked by Legionnaires and Minotaurs (considering that Minotaurs can also push players into spikes).
The player may also decide to take an even riskier approach and leave an incoming spike area at the very last moment – this lets them bait enemies into moving on the trap zone and be instantly killed. Yet, this does not work with the Sirens, who are floating and are immune.
There is also a fourth type of enemy in the encounter: the Harpy. Once most enemies are dead or about to die, the entire floor erupts in spikes. At that moment, a Harpy shows up for the player to Combat Grapple and escape certain death.
Here, there isn’t really a choice, since this is the only way to survive – but it looks cool as hell, and the fact that survival comes from Kratos gruesomely impaling an enemy fits perfectly with the brutal style that defines God of War III’s combat.
Final Thoughts
Every enemy provides a certain kind of combat experience, but when combined their strengths cover each other’s weaknesses, leading to dynamic gameplay. If the resistance created by enemies and their combinations is strong enough, it creates opportunities for the player to show their mastery over the game – and this is especially evident in the challenging encounters near the end of the game:
- Encounters where enemy synergy and intensity is ramped up to the maximum.
- Encounters where different enemies require constant juggling of specific abilities from the player.
On rare instances, the level design itself steps in, helping shape the fight and amplifying the strengths of each monster – with the given example being the enemy abilities pushing the player or leaving them vulnerable against incoming erupting spikes.
There is also another encounter that plays a bit with the encounter space, in which the player must stop enemies from breaking the chain that sustains the moving platform – this forces players to shift focus and prioritize threats differently.
Ultimately, how enemy combinations shape player choices?
Firstly, there is rarely and obvious skill for players to use. They must decide not only what to use, but when to use it, taking into account the current game state and the enemies present.
Enemy kill order is similarly situational. There is no universally agreed ranking of enemies by difficulty or priority, leaving that decision to the player – whether based on perceived personal challenge or simply targeting the closest threat (which perfectly aligns with the narrative of the game of killing everything in their path). Every enemy plays a role in combat, even the weak Feral Hounds as they strive to pin down the player to enable other enemies to shine.
Another factor influencing kill order is what enemies contribute to the fight in terms of player advantage. For example:
- Executing Minotaurs to obtain health orbs.
- Parrying the Gorgon’s gaze to petrify nearby enemies.
- Executing Sirens to obtain mana orbs.
Overall, enemy combinations shape player choices by providing the environment for players to make meaningful decisions and creating opportunities for the player to showcase their skillset. Most of decisions that players make encourage aggressive gameplay, further reinforcing the violent, fast-paced nature of combat that defines the God of War series.