Silksong - Learning the Pogo through Enemy Design
Introduction
At the time of writing this, Hollow Knight: Silksong has released less than one month ago.
Players that have long waited for the sequel to the first game have finally been able to satisfy their hunger for bug slice and dicing. The hype has been through the roof, and the reviews on steam have been generally quite positive.
At the core of the character’s toolkit lies one ability that is essential for players to master, in order to overcome the hardest challenges Silksong throws at them: The Pogo.
This ability is not exactly new to the series:
Hollow Knight
- A 90º Vertical Downwards Slash
- The player position does not change.
Hollow Knight Silksong
- A 45º Diagonal Lunge
- It moves the player in the direction of the attack
In both cases, if players manage to hit an enemy (or certain objects), it deals damage, resets gravity velocity and pushes the character upwards.
This ability provides several key advantages:
- It allows the player to reassert character control in the air.
- Keeps enemies pushed down, allowing the player to avoid ground enemies and push down aerial enemies.
- Helps the player avoid environmental hazards that also have a role in certain combat encounters and level design situations.
If I were to pinpoint the exact moment players are required to use Pogo for the first time, Shellwood and Hunter’s March would be prime examples. In order to progress in these zones, the player has to hit the bulbs (seen in the pictures below) with the down attack allowing them to propel themselves upwards.
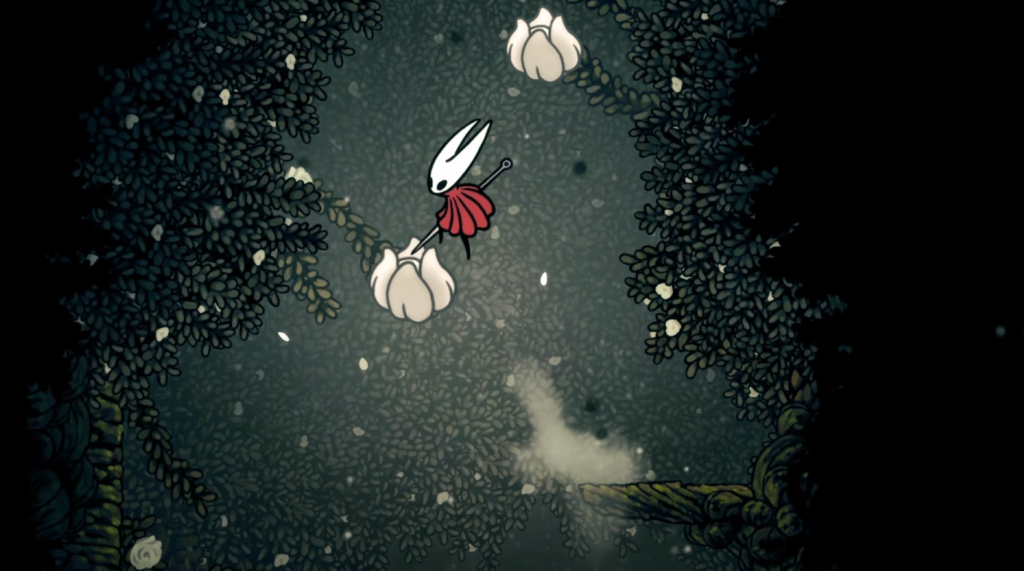
In Shellwood, the white flower bulbs vanish after a single hit, regenerating after a short time.
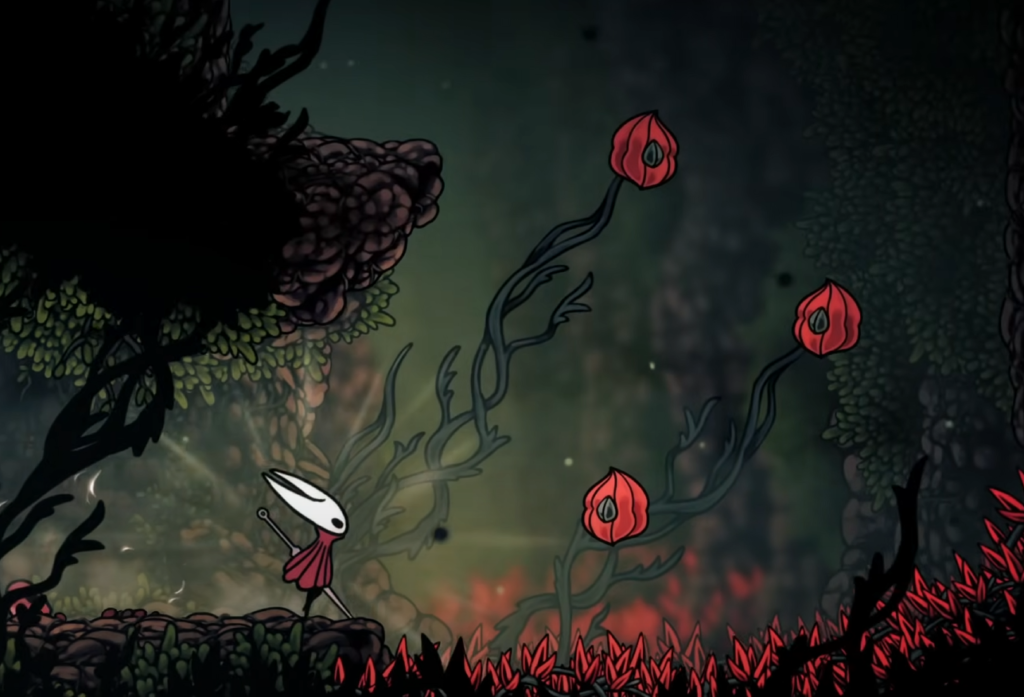
In Hunter’s March, the reddish bulbs persist indefinitely, though they are usually placed in more challenging spots.
These are the zones and challenges when Pogo is strictly required.
However, I found that Hollow Knight: Silksong — in its minimalistic, diegetic approach to teaching mechanics — uses enemy design and clever level placement to subtly guide players toward using and mastering the Pogo, long before they reach either of these zones.
Let’s look at a few combat examples from the first hour of the game.
First Few Enemies
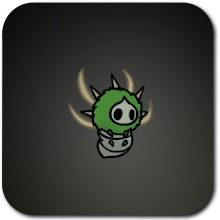
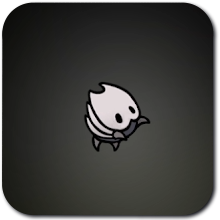
In addition to the Pogo, Hornet (the main character) starts with:
- A Frontal Attack
- An Upwards Attack
These are usable on both ground and air. The first three enemies the player encounters serve to teach these basic attacks, laying the foundation for the core mechanics that the Pogo later builds on.
Mossgrub
The Mossgrub quickly shows that it can be safe to attack enemies with the Frontal Attack.
- Both the enemy and Hornet receive a pushback force that increases distance between them. This allows the player to keep pushing forward while spamming the attack.
Mossmir
The Mossmir is a flying enemy, meaning the player may be inclined to use jump and use a Frontal Attack or an Upwards Attack.
- If the Mossmir is attacking (a downwards plunge), the player won’t be able to push it up with an Upwards Attack, showing that some enemies cannot be safely pushed back.
- However, if the player moves out of the attack path, the Mossmir will stay still for a few moments allowing the player to perform some Frontal Attacks.
Mawling
Finally, we have the Mawling. It sticks to terrain, rolling around the platforms.
- They do not suffer any pushback from attacks.
- The tiny platforms encourage a jump Frontal Attack, the reasons being:
- The player needs to use the platforms to progress further.
- There is no safe space for the player on top.
- It is much easier to attack them as they roll in front of the player.
With these three simple enemies the player just grasped the basic combat mechanics of the game:
- Simple Attacks can damage enemies.
- Some enemies can be safely pushback.
- Other enemies are immune to pushback (or take very little pushback) requiring the player to use movement.
- The way enemies are placed in the level can also influence what actions the player should take.
Path to Treasure
In this first section of the game, there is a moment that might lead the player to learn the benefits of using the Pogo (it led me!). However, it occurs in a secondary path that leads to a treasure, therefore it is optional.
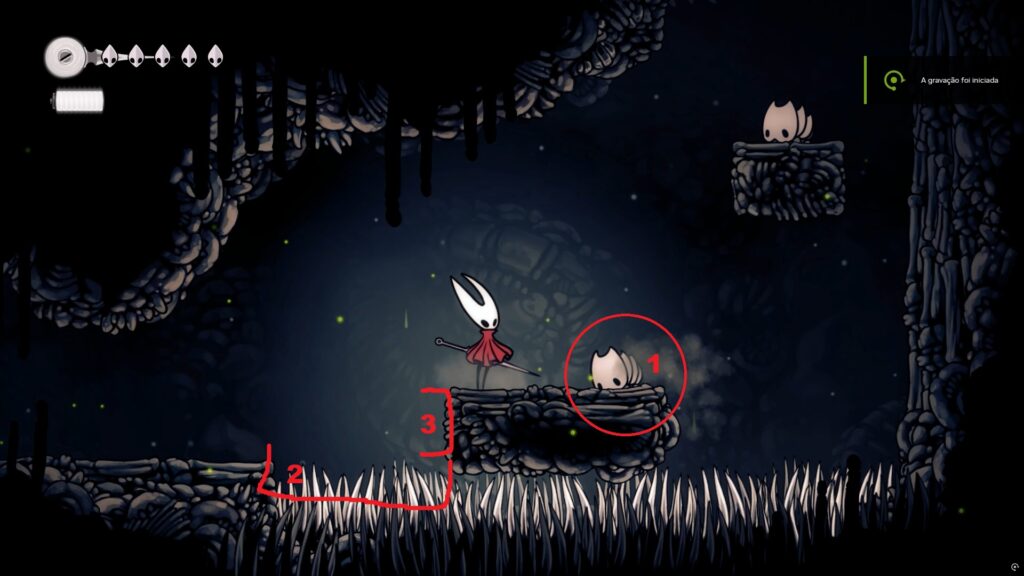
So, what aspects might encourage the player to use Pogo here?
- The Mawling takes no pushback, so a Frontal Attack can be risky to pull off in such a tight space.
- Attacking and running is frustrating. With the spikes behind the player, there is no place to run back, the player would have to keep jumping in and out.
- Attacking it with a jump Frontal Attack while it is on the platform side (as players could do before) causes the character to fall on the spikes.
Therefore, there are two solutions:
- Either using a Frontal Attack and jumping over the Mawling when it rolls around.
- Use Pogo. The Mawling even briefly stops, making it easier for players to use the ability more accurately.
Ignoring the enemy is also discouraged, since players need the cleared platform, so they can focus on the next Mawling above.
First Boss - Moss Mother
By the time players reach the first boss encounter, they may have had already used the Pogo – whether by accident, curiosity, experimentation or even knowledge from the previous game.
If they didn’t, this encounter creates more opportunities to do so. Considering the other basic attacks available:
- Attacks on the ground are ineffective because the boss is flying.
- Jumping and attacking (both with Frontal Attacks and Upward Attacks) are a possible option, while the boss remains stationary in-between abilities.
However, through the way her attacks are designed, the Moss Mother nudges players towards using the Pogo. Let’s see how.
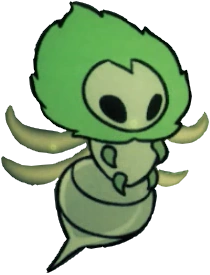
Sweeping Charge
One of Moss Mother‘s core abilities is a sweeping charge, where she dashes across the screen.
The player cannot use Frontal Attacks during the ability, since the boss takes no pushback. But theoretically, players could jump Frontal Attack in-between Sweeping Charges and simply run away or jump over the boss when the ability comes?
Well, this is hard to do.
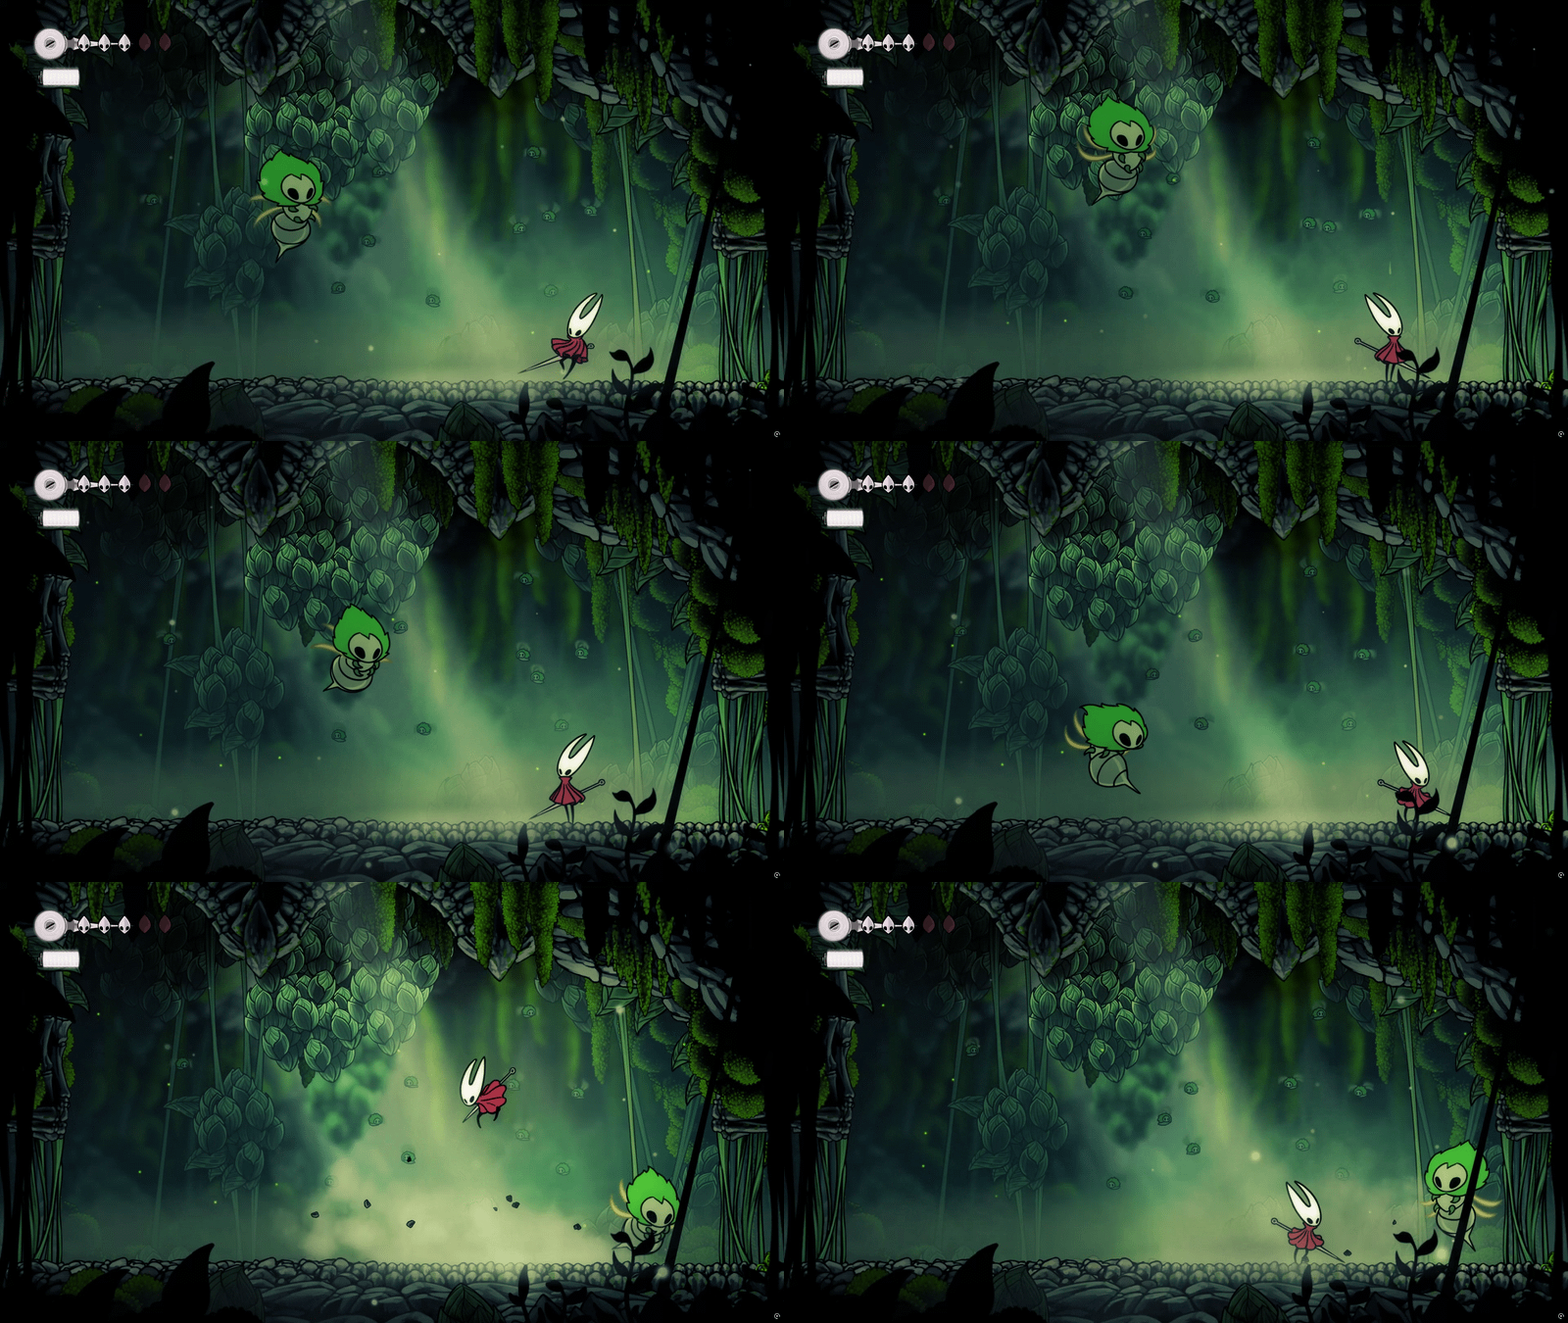
Moss Mother‘s Sweeping Charge has very little startup frames. This means that, if the player jump attacks her, they will often be out of control in the air and in a bad position – defenseless and doomed to take a hit. There simply isn’t enough time, to hit the attack, get back on the ground and jump over her or run away.
For this reason, an opportunity presents itself for the player to use the Pogo:
- Players hit the boss and are immediately propelled away to safety, while keeping character air control.
- The speed at which the Moss Mother charges (not too slow, not too fast) makes it easy to hit her, letting players experiment with the ability.
- In addition, it can even help if the player is about to land on one of the patrolling Mossgrubs.
The Moss Mother is not an optional boss – it sorta acts as the end of the tutorial. It’s worth noting that players can still defeat her without using the Pogo. They can attack sparingly and wait out its Sweeping Charges. However, it can be tedious to do so and using the Pogo works out so gracefully, that the encounter seems designed for players to experiment with the ability.
The Morrow
The second major area players get to explore is The Morrow. With it comes new challenges, unfamiliar enemies and, consequently, new opportunities for players to keep practicing with Hornet’s skills.
I won’t be analyzing every single enemy that the player encounters. For the purpose of this article, let’s examine some enemies and scenarios that create opportunities to use the Pogo.
Skull Brute
The Skull Brute creature is one of the clearest examples of encouraging the player to use the Pogo.
The monster has one single simple ability:
- Relentlessly charging at the player.
Some key design aspects behind this enemy and its behaviours:
- It suffers little to no pushback from player attacks.
- Its charge speed is greater than players base movement speed.
- It turns towards the player when struck from behind.
As a result:
- Frontal Attacks are a bad idea since players can’t push it back. Also its charge speed makes hit-and-run tactics nearly impossible.
- Jumping over it and striking from behind is countered by its quick turn towards the player.
If this is not convincing enough the Skull Brute deals two whole damage points – it is not kidding around and so shouldn’t the player.
In comparison, when using the Pogo:
- The Skull Brute is always on the ground so it can be safely used.
- The monster doesn’t move very fast while patrolling and has a large body, meaning it is easy to hit the attack.
- The player strikes the enemy and goes back in the air, giving time to plan their next move.
- And it looks smooth!
Beastfly
Another example is the Beastfly.
I won’t go as in depth here as I did for the Skull Brute, but the characteristics and principles are similar:
- The enemy does a charge attack and can’t be pushed back.
- Jumping over it and striking with Pogo is an effective response.
Compared to the Skull Brute, its body is smaller and it is a bit faster so it might be trickier to hit it.
On the other hand, it doesn’t react aggressively when struck from behind, therefore jumping over it and attacking it with jump attacks in-between charges is also an effective strategy.
Moss Home
Still on the first hour of gameplay, players will reach a small section of an area known as Moss Home. Some of the enemies here also follow similar patterns to the ones I analyzed before:
- In their movement patterns, attack patterns and pushback force taken, they resist normal attacks and encourage the player to attack them from above.
With that in mind, you can compare the two approaches in the video below:
- First, I attempt to deal with enemies by getting close and attacking with normal attacks.
- Afterwards, I use the Pogo ability.
Second Boss - Bell Beast
For the final example in this article, we have the second boss: Bell Beast.
Freed from its silk bounds, it moves around swiftly, jumping in and out of the bells in the arena.
As in the previous examples, it has a behaviour that motivates players to use the Pogo. It is an ability that shares some similarities to enemy skills the player had already encountered:
- A linear charge attack.
- Cannot be interrupted or pushed back.
- Deals the punishing damage of two points.
And due to the nature of the arena setting, boss visual design and ability speed it feels even more unstoppable and intimidating.
So why the Pogo here?
The Bell Beast has a long body that provides ample space to hit from above. Despite the charge attacl being fast, the creature’s size creates a wide window of opportunity for the players to reliably strike it with the Pogo, while nullifying any danger from the charge.
Final Thoughts
I hoped these examples helped illustrate that, even before the Pogo is actually required to progress in the game, enemies and challenges are designed in such a way that can naturally lead players to experiment with this ability.
The article is just a sample of enemy designs in relation to the Pogo ability. But on a more general level, in Silksong, enemy design always draws on its key characteristics to interact with players’ actions:
- Enemy movement patterns and passive behaviours.
- Aggressive reactions and attack cadence, size and reach.
- Pushback force (or lack thereof) when taking damage.
- And even the visual design related to enemies’ vulnerabilities and immunities!
On this last point of visual design, I found that some enemies found in Deep Docks have a very clear design in regards to the Pogo ability.
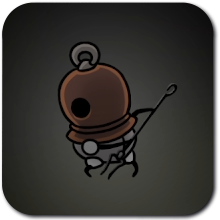
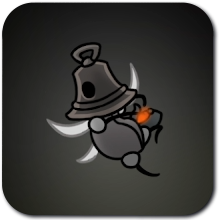
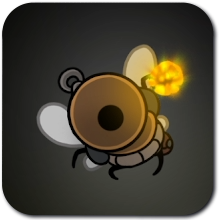
With bells on their heads, they are immune to attacks from above, rending the Pogo damage useless and forcing players to look to other solutions to defeat them.
There are also enemies that can block attacks from different directions, forcing players to diversify their approach.
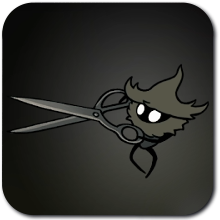
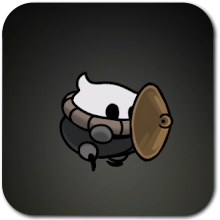
All this to say that enemies consistently push players to use different parts of Hornet‘s toolkit, creating opportunities where distinct approaches are valid.
And often, this means relying on one of her most skillful, acrobatic and elegant abilities: the Pogo.